Saturday, January 28, 2012

Blueberry French Toast Bake

My BFF- hee hee- I just had to sneak this in-Lory introduced me to this french toast bake and I LOVE IT!! It is just sweet enough and the addition of blueberries pushes it over the top. I made this french toast bake for Christmas morning and it was a huge hit.

Some of my best memories involve brunch with family and friends. You can be so flexible with brunch time- you can include lite lunch items, the classic breakfast trio- bacon, eggs and potatoes and even include sweet items. This french toast bake is one of those sweeter items. I especially love brunch items where you can make it up and set it aside and throw it in the oven in the morning to bake.

Here are the cast of characters for this breakfast bake. BTW- these blueberries I bought from Wal-mart (yes I know that they are evil....) were so good. They were so plump and were some of the biggest blueberries that I had ever seen. You can find them in the freezer section and they were a lot (cheaper) than some of the other supermarket frozen blueberries.

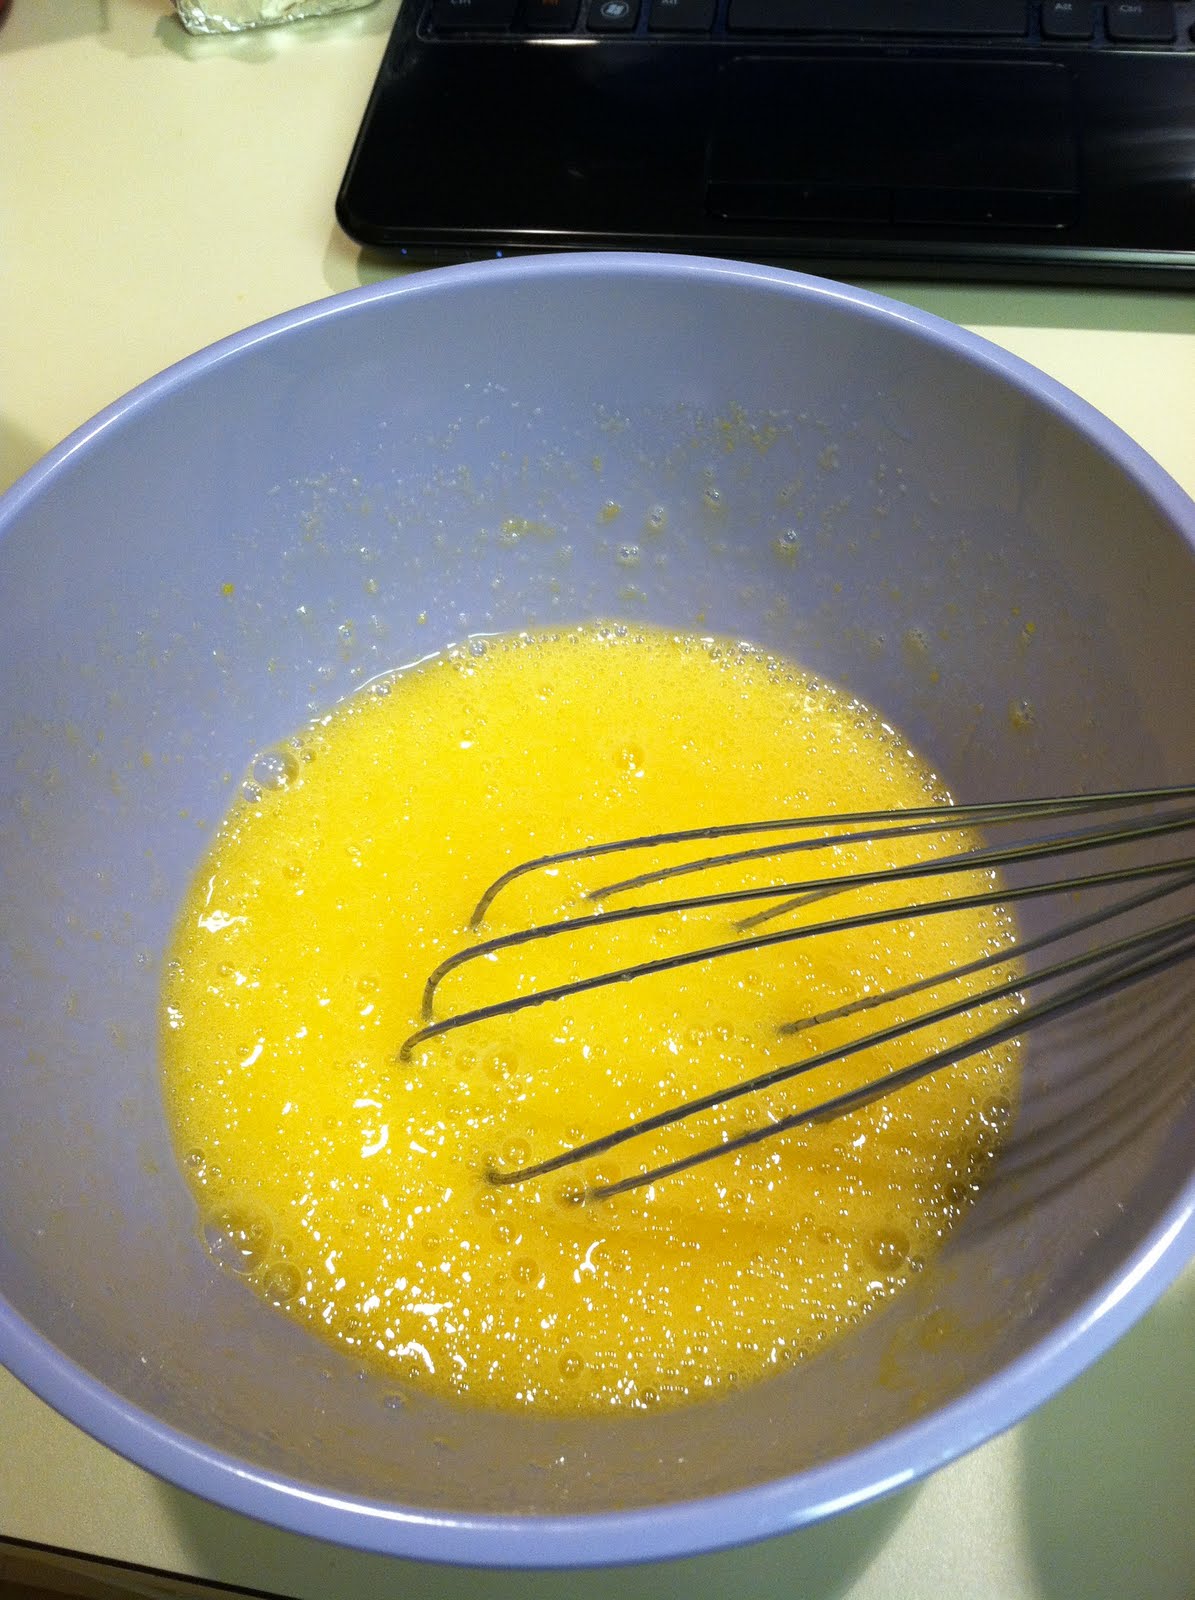
The night before you want to bake the french toast, you will cut your loaf of bread into small chunks, whip your eggs and sugar till light and fluffy, add in the half and half and then soak the bread cubes overnight in the mix.
The next morning you will add your blueberries to the soaked bread chunks. See how plump those blueberries look. I think I just want to see how many more times I can use the word plump.....

On your stove top you will melt a half cup f butter and half cup of brown sugar. You will cook both until the mix is bubbling gently.
Pour your bread mix in a lightly greased casserole dish and then drizzle this buttery, sugary mix on top.
Bake at 325 degrees for 1 hour or until top if puffed and lightly browned.

Here is what the finished french toast bake looks like. You can serve this french toast with maple syrup, but personally I enjoy it just the way it is. But if you do make this and serve it with maple syrup- let me know how you like it.
Again- check out those blueberries...plump....

Here is the recipe in case you want to bake this bad boy on up for your next brunch. Hey- invite me too!!

Blueberry French Toast

8 cups French bread (one loaf) 1" cubed
5 eggs
1 cup sugar
3 cups milk or half&half
1 1/2 cups Frozen blueberries
1/2 cup butter or margarine
1/2 cup brown sugar

Place bread cubes in large bowl
Whip eggs and sugar until light in color and thick. Add half and half.
Pour mixture over bread cubes
Cover and refrigerate overnight

In the morning, preheat oven to 325
Mix 1 cup blueberries into bread and put into greased 9X13 pan
Sprinkle remaining berries on top

On stove in a saucepan, melt butter and brown sugar until bubbly
Pour mixture over bread and berries
Bake at 325 for 1 hour or until puffed
Serve with syrup
Enjoy!!
Marci


Sunday, January 22, 2012

My First Official Cookie Order

I was asked to create some baby shower cookies for a friend of a friend whom I knew casually. I was thrilled and nervous. All of my baking has always been for family and close friends- people who would always love my cookies and cake wrecks no matter what. But making cookies for someone I didn't know well was a different story. So with some trepidation- I agreed.


The theme of the shower was "Good things come in twos" because the mom to be was expecting twins. I know a "little" something about twins. Good luck on that one... just kidding!! Twins are double the amount of work and heartaches, but also double the amount of love, kisses, cuddles and joy! I love my twin nephews and although they can run hurdles around me- I can't help but love all of the trouble they get into. Even as I type about them I am picturing cake butt shaking his finger at me going "no no no no"....


From what I understand the guests wold be decorating onesies for the mom to be to take home with her. So I created onesie cookies in the colors of the shower- pale orange, pale green and pale yellow. I actually loved this color combination. Although I do admit my orange is slightly more "peachy" than orange.


I had a lot of fun making these cookies, some minor hand cramps and a slight incident that involved royal icing being squeezed- or more like- popped all over my head and body. That was fun. I was too busy to actually address the scary state of my face and hair so later that night I tried to hose myself down and boy does royal icing dry well in hair and on skin. I had a mini sugar and meringue facial that night and a funny white streak in my hair. At least I have a good memory to help me recall my "first-ever-official-cookie-order"!!!


Smiles,
Marci

Sunday, January 8, 2012

A Theme Party for Two Cuties

I had an eventful New Years Eve as it was the day of my twin nephews birthday party. And what a party it was. Yo Gabba Gabba was the theme and I made cookies for the party.

Here is one snapshot of one of the tables that was decorated for the party.

I started on the cookies a couple of weeks before the big day. I cut out and baked circle cookies a couple of weeks before and froze the cookies so that they would stay fresh. The week of the festivities I broke out the decorating tips and royal icing and got to work. I decided that I wanted to make the main characters into cookies.

As I started decorating the cookies- I realized that the tips that I had were not quite small enough so I had to run and buy some more tips. I have a few Wilton round tips, but only had one-#1 tip and a couple #2 tips. I did end up investing in some PME tips in size 1 and 00. I do think that I prefer the size #1 tip for decorating finer details.

Here is how Muno turned out. He was by far the easiest to pipe and outline and in all honesty- he really was the most fun to make.

Here is Toodee- I did not realize that Toodee was a female until I noted the "eyelashes" on her character. Again the finer tips came in handy for things like eyelashes and I think I could have gone even finer with the detail. So I may need to invest in a few more PME tips in #00 and maybe even a couple in #000.

Brobee was kinda fun as well because I liked doing the "squiggle" piping on him. :)

I thought that Plex would be the easiest to make since he was all squares, but for some reason I could not pipe a straight square to save my life that day. Even though he is not perfect, I still like him.

And here are all four characters. They are not perfect- they have many flaws. They are not perfectly shaped and they do not look exactly like the characters on the show. But, I am happy with my first attempt at making character cookies!

And if you notice- I did leave two characters out. I tried to make Foofa cookies, but she was one of my first attempts without a finer "tip" and she was a mess. She looked like a pink Tammy Faye- so I ended up scrapping that cookie entirely.
I also decided not to do DJ Lance as I was a little nervous about creating a "skin tone" cookie color and frankly time really did not permit me to experiment that much more.

Overall, I am very happy with my cookie attempt and hope to have some more fun baking for my other nephew's birthday in the spring!!

Smiles,
Marci


Monday, December 26, 2011

a sneak peek.......

Here is a quick sneak peek at the fun I am looking forward to....


I will also be attempting some Yo Gabba Gabba cookies. It will probably get interesting... But I will share more pictures later.

Smiles-
Marci

Saturday, December 24, 2011

Happy Holidays!!!

For the holidays every year I make pumpkin roll. It has always been one of my favorites and since I discovered Eve's pumpkin roll recipe I have been a goner.

Eve, in case you are wondering, is a very real person and she also is famous for her pumpkin roll. I remember when I started at my first job and I was working around the holidays. I was working hard (haha) one day and all of sudden a buzz started around me... "The pumpkin roll- it's here!" "Eve's pumpkin roll is here!" "Pumpkin roll- where?". And the first bite of that roll made me a forever convert.... Fast forward a few years and Eve and I are working together and she gives me a pumpkin roll for Christmas and the RECIPE!!!! Thanks Eve!!

Soooooo I have been making her pumpkin roll ever since. I know that a pumpkin rolls sounds complicated but really it is a rather simple recipe. The key to making a pumpkin roll are the tools. A jelly roll pan is a must have as well as a large tea towel. Other than that- I bet you have everything you need to make it.

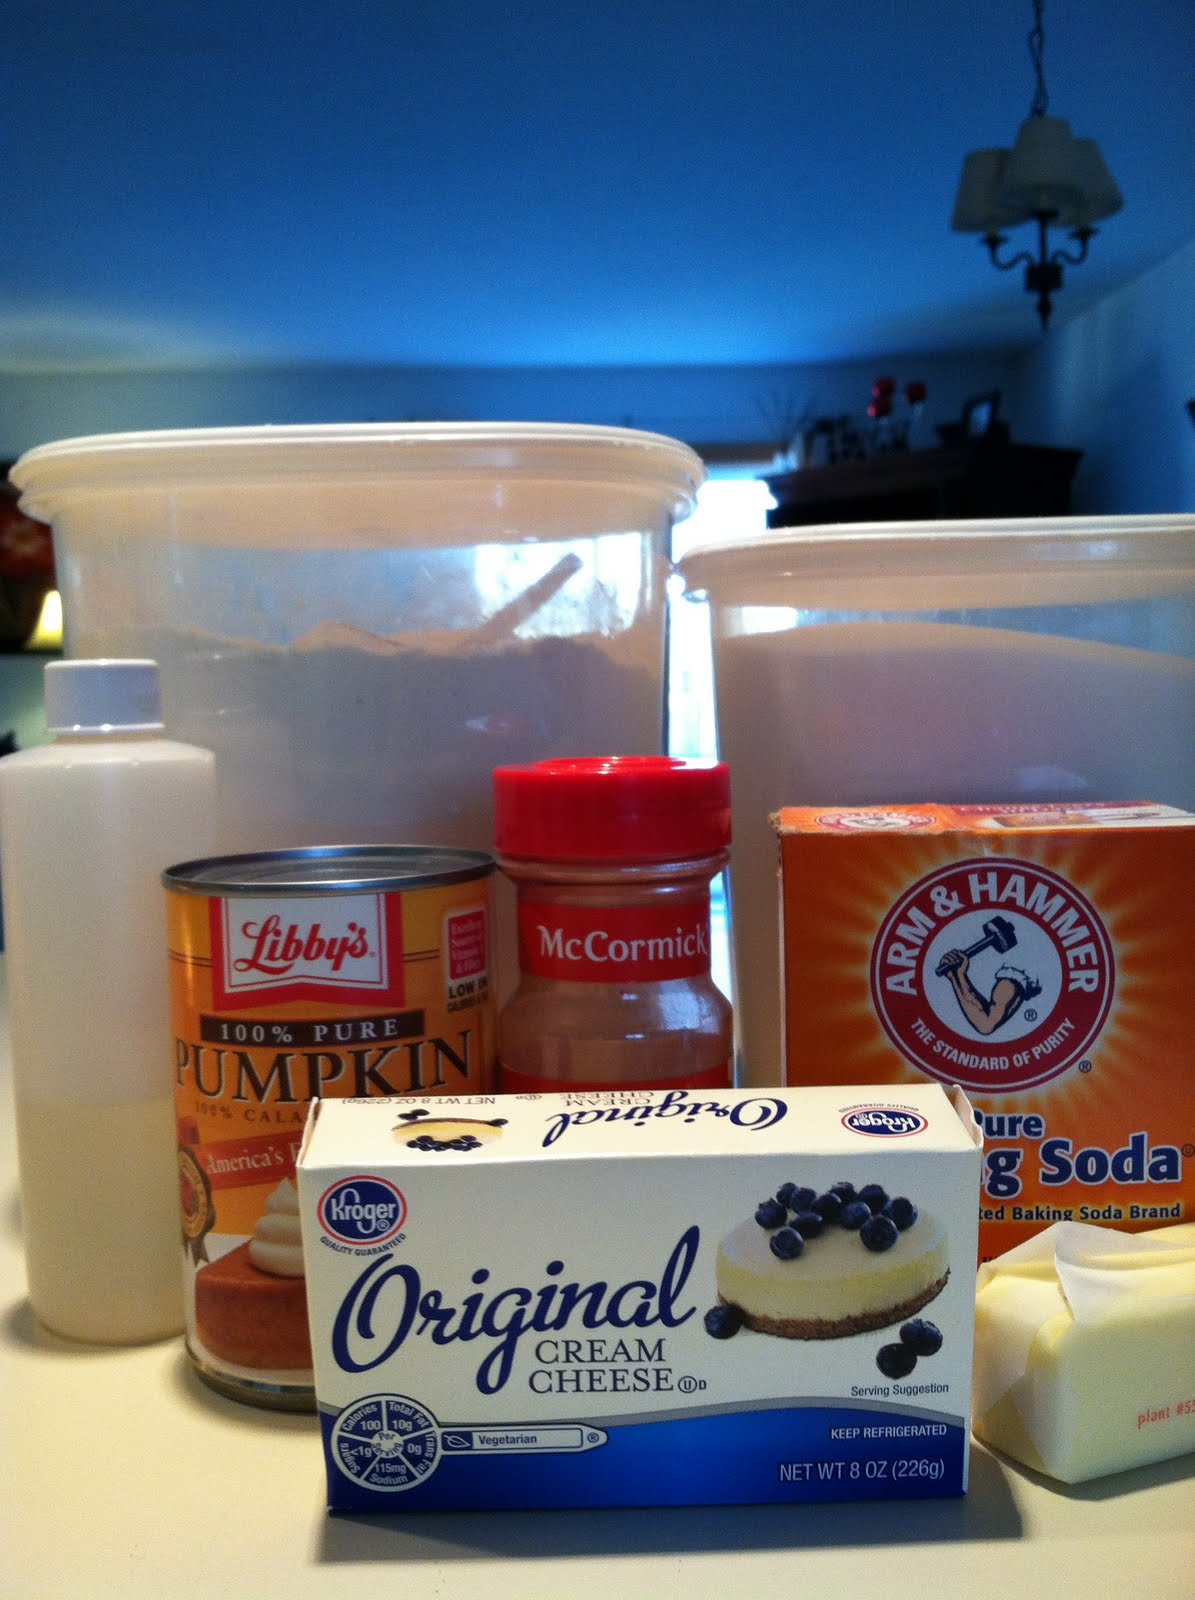
Here are the ingredients minus a few... such as powdered sugar and eggs.. and who knows what else I forgot to include in the photo... I always have been a touch flaky, but more on that later....


And yes Kroger brand cream cheese works great!! You will mix your pumpkin mixture by hand and spread it into a parchment paper lined jelly roll pan. And trust me the parchment paper is key- it really does help pull the roll out of the pan after baking.

After you spread the pumpkin mix in the pan and pop it in the oven, you can get your tea towel ready. Be sure to put plenty of powder sugar all over the towel so that the roll does not stick when you roll up the pumpkin mix in the towel.


This is what the baked and cooled pumpkin roll look like pre-roll part....

And this is where things get a little sketchy... I forgot to take pictures of the process where you roll the roll (haha roll the roll) in the towel- insert flaky moment here. But to clarify- I gently pull my roll from the pan after it has cooled for 15 minutes (this is where the parchment paper helps) and place the roll top side down on the sugared towel. I then carefully peel the parchment paper off and starting at one end, begin rolling the roll in the towel. I think I almost needed to take a video to explain this process, but as I have not yet seen an Iphone tripod, we are out of luck. Once the roll is in the towel I let is rest and cool some more.

I then prepare the cream cheese filling. The filling is simple as well and can be mixed by hand or with a hand mixer. Once the roll has cooled in the towel, then it can be gently unrolled. You will then spread the cream cheese filling over the roll. Since the roll has cooled in the rolled up position, it will then easily roll back up with the filling inside.

Here is a picture of the completed roll. I then refrigerate mine until ready to serve For some reason I like mine a little chilled and I actually find that it is easier to slice when chilled as the roll holds it shape better, but I think most people prefer to eat their roll at room temperature.

Enjoy and Merry Christmas Everyone (or all one or two of my readers! lol)

Marci

(recipe below)


Eve's Pumpkin Roll

ingredients:
2 eggs
2/3 cup pumpkin or half of 15 ounce can of pumpkin
1 cup granulated sugar
1 tsp soda
1 tsp cinnamon
2/3 cup all purpose flour

Other tools:
parchment paper
jelly roll pan

combine pumpkin, eggs and sugar and stir together till well combined. Add dry ingredients (baking soda, cinnamon and flour). Stir till all combined well. Then spread in parchment lined jelly roll pan. A hint- spray the bottom of the pan and the parchment paper will stick beautifully. I also do a small spray of cooking spray on top of the parchment in case...

Bake at 350 degrees for 15 minutes.

Cool the roll in the pan for 15 minutes. Then dump roll on powdered (sugar) towel and roll up and cool for another 10 minutes.

Meanwhile make your cream cheese filling:
1 cup powdered sugar
2 Tbs butter (softened)
1 8oz cream cheese (softened)
1 tsp vanilla.

Blend all ingredients together until creamy and smooth. Unroll your pumpkin roll and spread filling over roll and carefully roll back up.

*** Thank you EVE for the best pumpkin roll recipe EVER!!!

Thursday, December 15, 2011

This is really what Christmas is all about......

For some reason this holiday season has been a tough one for me. I have found myself procrastinating and putting off holiday "chores" more than usual. For example, I still have not put up a Christmas tree and to be frank I am not sure if I will even put one up. I do have a small miniature tree up and I did put up a few decorations. I also have not bought any cards to mail and again- to be honest am not sure I will even send them out this year. I am struggling because all of these tasks are starting to feel more like chores to me. I am sad over the fact that I feel this way, but am trying to pull myself out of this "funk".

I did get a chance to see zoo lights again this year and although it was a cold- it was a beautiful night and the lights were spectacular. This photo does not in any way really show how amazing and beautiful the lights display is. It seems since I got my iphone I have been neglectful of my other camera. One of these days I would really like to invest in a quality camera so I can really take some amazing pictures. My Dad would have loved me loving photography as much as I do.


The other night I had my nephew over to decorate sugar cookies. I had made some cut outs a couple of nights before and had some icing and sprinkles ready for him. At first he was very hesitant and did not want to decorate, but after his Nana arrived he was ready to go. And he got very into the cookie decorating.

Here is a picture of his sweet little face as he concentrates on spooning sprinkles over everything- oops I mean his cookies.


According to my nephew this is how cookie decorating goes..... Step 1- apply some sprinkles.....

Step 2- apply some more sprinkles......

Step 3- and just in case apply some more sprinkles...

And the finished product looks something like this.....

But the mess never mattered at all.... because he had fun and it warmed my heart seeing him have so much fun.

We made some beautiful cookies the other night... they may not look like the ones I see on some of my favorite cooking and baking blogs, but they were made with love. And I think that is what Christmas memories are all about.

Sending Christmas love to everyone!

Tuesday, December 6, 2011

A new job and a new oven.....

This past weekend was monumental... I finally got a new oven. And it is a purty one.... It has a hidden bake element so hopefully spills will be easier to clean out of the bottom of the oven. Not that I ever spill anything in my oven. I wish I had taken a picture of the inside of my old oven- it was embarrassing how much food spillage had happened in there. My new oven also has a convection feature. And the cook-top is ceramic. I really wanted a flat top stove after having to deal with coils for the past few years, but I have recently heard mixed reviews from others about the ceramic flat tops. So the jury is still out on what I think of the stove.

And the drum roll...... Here is a picture of the new oven.


And since I was spending so much money I figured I might as well go for broke.... So I got a new dishwasher as well. I did not end up getting the same brand of dishwasher as I did oven, but I am very happy with it. My new dishwasher is super quiet, allows me to run a half rack load and has a stainless steel interior. I had never heard of the Bosch brand before I went shopping, but I heard universal praise about the brand. And I must say so far I agree.


I used my new oven for the first time the other night and I am glad I broke it in on a casserole I made before making cookies. I never knew that the first time you use a new oven it can produce a strong "chemical/burning smell". And oh boy did it smell. So it would not have been a good idea to bake up some yummy cookies because you would have never been able to enjoy the smell of deliciousness baking.

So tonight, I decided to give the oven another whirl and baked up a recipe I found on Pinterest. I made the "Cherry Chocolate Cookies" by The Curvy Carrot.

I must admit this cookie dough smelled divine as I was mixing it up. And as I was chopping up the cherries I kept eating them. Just an FYI- this cookie dough is more of a shortbread dough as it does not use any rising agents and bakes at a lower temperature. The cookies appeared a little dry as I pressed the chocolate kisses into them, but they were perfectly delicious.

Here is a quick snapshot of the dough- I love the pale pink color and pop of red from the cherries.

Here are a few cookies from the first batch from the oven. The cookies were just as beautiful as promised. The faint hint of almond and pop of cherry flavor is delicious and the chocolate is the prefect finishing flavor in your mouth. So pop on over to The Curvy Carrot to try out this recipe for yourself.


I plan on doing some more baking in the next couple of weeks and really need to get started on my Christmas shopping soon.

Smiles,
Marci